Field guide · Bushcraft
Purpose and safe boundaries
Illustrated A-frame tarp layout, basic field knots, rope inspection and shelter performance checks.
Reviewed: November 2026. This educational guide does not replace accredited training, equipment manuals, local rules, medical professionals or live emergency instructions.
Tarp rigging: inspect before loading
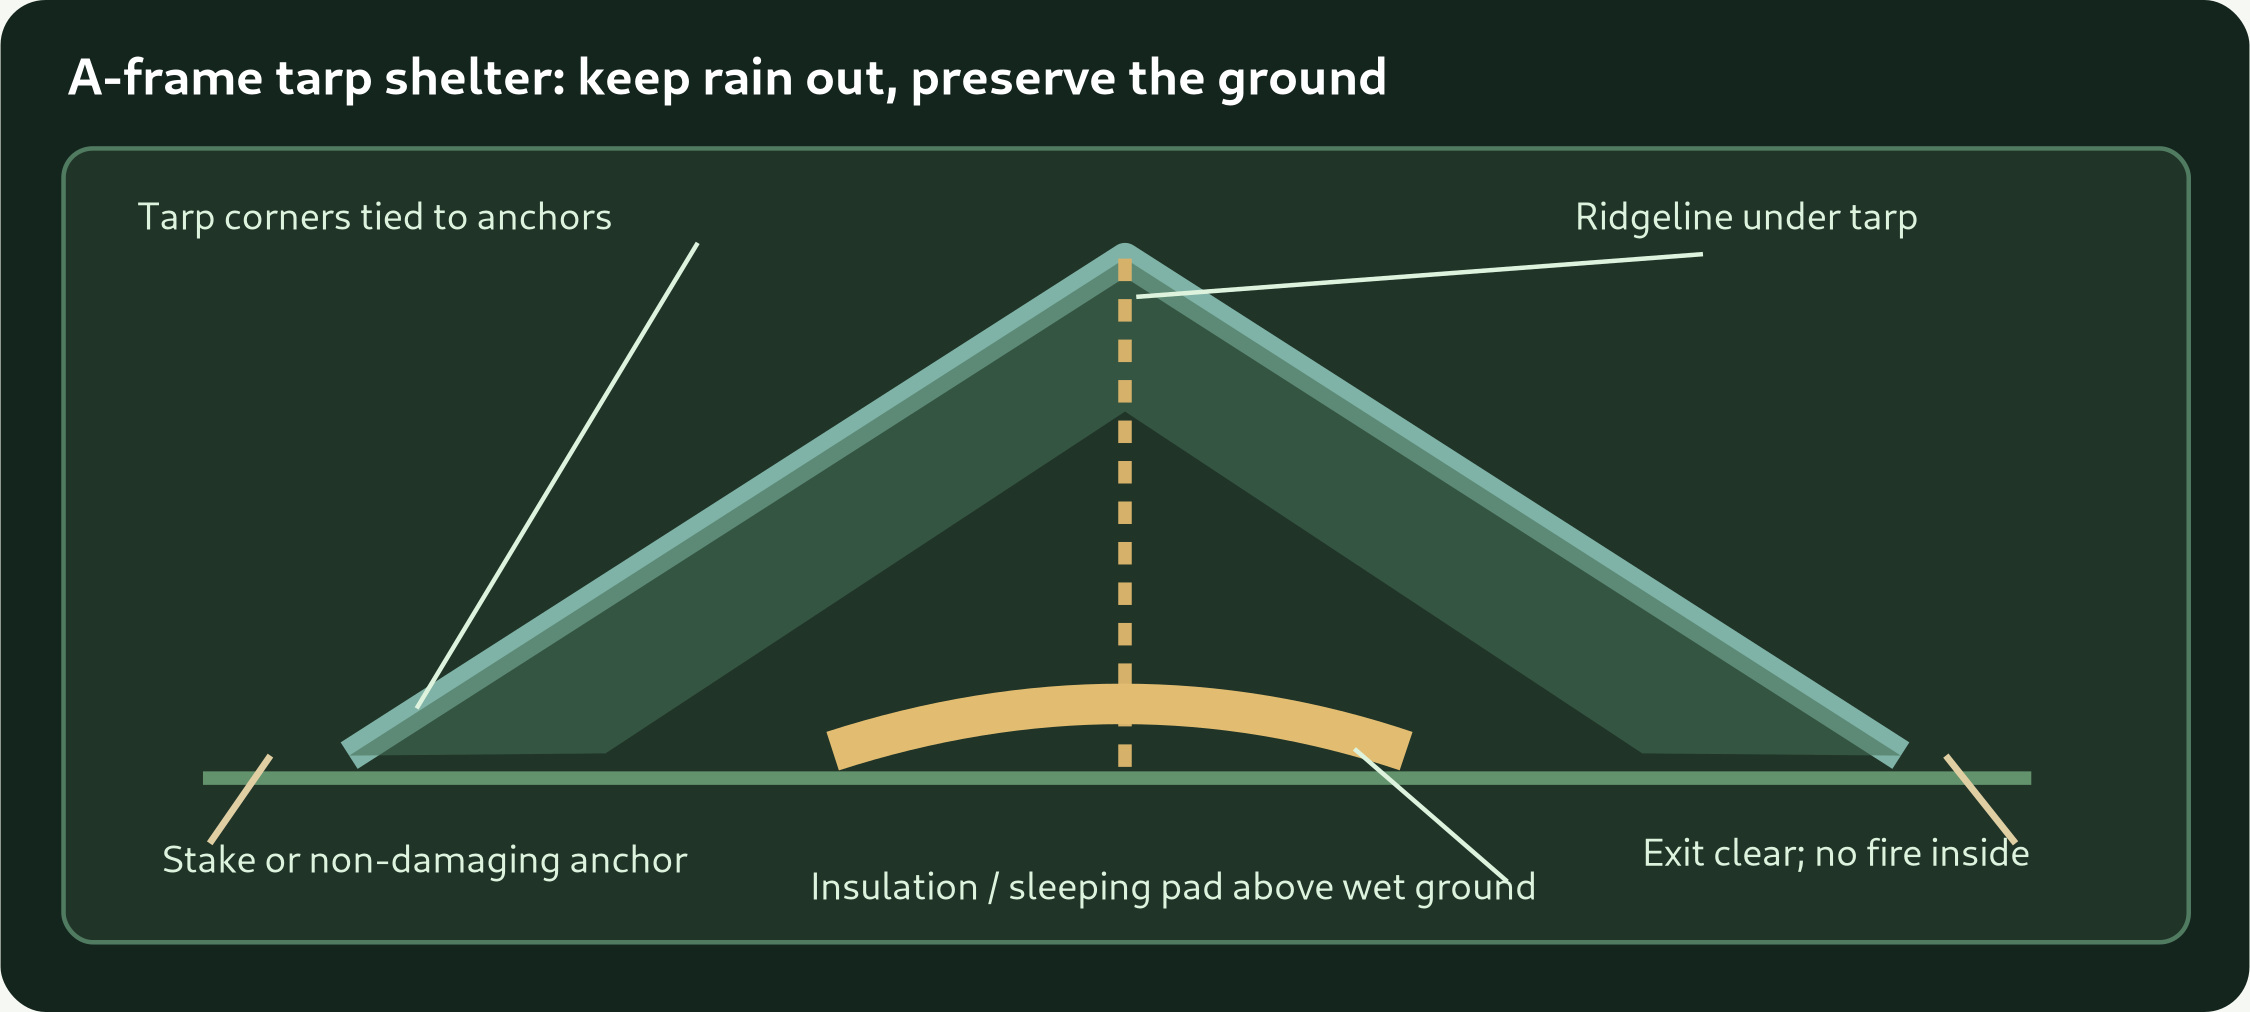
Choose purpose-made cordage rated for the task. Inspect nicks, melted spots, stiff sections, mildew and damaged outer sheaths. Keep line away from cutting edges. For shelter guy lines, avoid waist-height cords across trails; mark them for visibility.
Shelter rigging reference
Three knots to learn
- Bowline: a fixed loop at the end of rope for a non-life-safety tether. Dress the turns, secure the tail and test before trusting.
- Taut-line hitch: adjustable hitch for light guy lines; tension after tarp loading and inspect when wet.
- Trucker’s hitch: mechanical advantage to tension a ridgeline, then secure against slippage. Do not apply to climbing or lifting people.
Use an accredited knot diagram or instructor to confirm the exact weave; incorrect knots may look convincing and still fail.
Shelter failure cases
Flapping tarp: lower pitch, retension corners and protect fabric contact points. Water pooling: improve slope and runoff. Condensation: increase safe ventilation. Soaked sleeping area: move to higher stable ground; add a groundsheet and insulation. Strong winds: use certified shelter or leave exposed ground rather than relying on improvisation.
Packing out
Remove every cord, stake, tape scrap and food item. Inspect for rope scars and avoid damaging protected trees or vegetation. Do not create unauthorized semi-permanent camps.
Related survival guides
References and further reading
Checked against publicly available guidance; verify local rules and the manufacturer’s current manual before use.